
Hi,
This blog has moved to http://joeliskitchen.com
Please update your feed subscription and I hope to see you over there!
Sincerely,
Joeli
Wednesday, 15 October 2008
Thursday, 9 October 2008
Putting the Pie in Pizza Pie
I have a goal to find the ultimate recipe for enough dishes that anytime company is coming over I don't have to worry about what to make or if it'll turn out okay. So that means I need an ultimate appetizer, main course and desert. I like to know that if someone requests something, say brownies, then I have a sure-fire recipe that won't let me down. One day, I will make a list for you of my current top recipes. But today I need to talk about pizza dough. Pizza is by far my favorite savory food. I have been making pizza dough from scratch for years and it's always been good, but never great. Company has approved, but never went gaga over it. Yesterday I tried a new recipe that was unbelievably good. It made me swoon and normally I'm quite picky about things I make. I can't wait to have company over to try out this dough. If they don't go crazy, I'll be slightly disappointed.
It all started when I was playing with Stumble and I came across this site. (He provides awesome photos and a better step-by-step then me so go check it out, I'll wait). How could you not want to make that?! I certainly could not resist and I'm so glad I didn't. Look what awaited me:
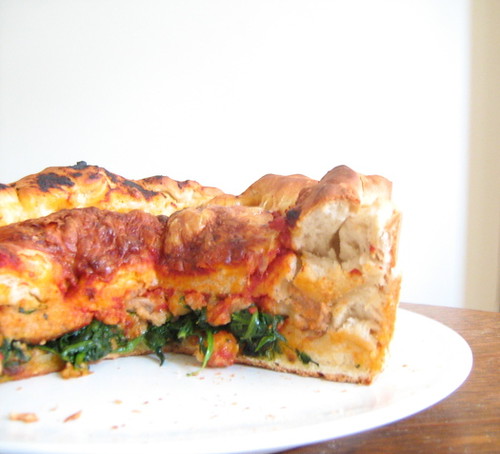
It was so good I'm counting the minutes until lunch time so I can go have another slice. If you want to achieve the perfect pizza here's how:
Pizza Dough
Makes 2 large pizzas or 1 deep dish
INGREDIENTS:
1 1/4 cups warm water
1 tbls sugar
4 tsps active dry yeast
1 tbls salt
1/4 c vegetable oil
~5 cups flour (I used all purpose)
PANS: For regular pizza a baking sheet or pizza stone. For deep dish a springform pan (though a really deep cake pan could suffice).
OVEN TEMP/COOKING TIME: Regular pizza--as hot as your oven will go/10-12 minutes. Deep dish--200C/400F/30-35 minutes.
METHOD:
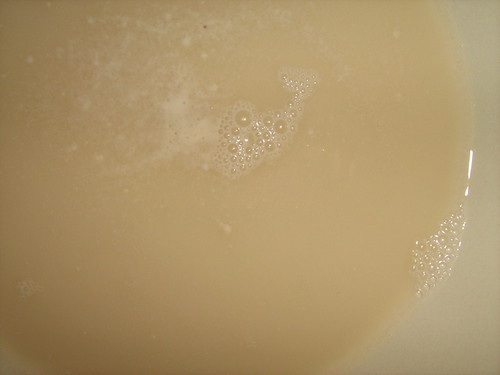
Pour the water into a bowl, add the sugar and the yeast and whisk vigorously until all the yeast is dissolved. After a minute you should see some bubbles:
At this point you're supposed to let it sit for about 5 minutes until the top is slightly frothy. I got distracted and probably let mine sit for 10 or 15 minutes. I think it went beyond slightly frothy:
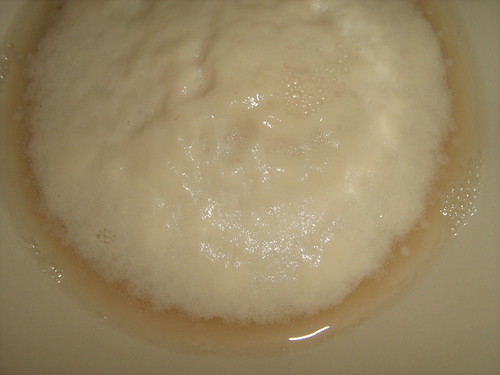
However I am convinced that this is what made my dough so light and airy and if possible I will let my yeast mixture sit for ages every time. Next add in the salt and oil. Then add the flour a cup at a time. After about 3 cups you should be starting to get a dough like substances. At this point I start kneading the dough adding flour about 1/4c at a time until I can work with the dough and it's not sticking to my hands like wallpaper paste. The dough should feel smooth. When you've reached this point put the dough back in the bowl to rise. Whether you cover it or not is up to you. I once saw on a TV program that hotel shower caps are great for covering bowls. But as this dough only takes about an hour to rise I left mine uncovered.

It's done rising when it has doubled in size or when you can press two fingers into it and it leaves a slight impression. Punch down the dough and knead until you don't hear/feel any air bubbles popping.
That's the dough part done. At this point you could just break it in half and roll out your dough to whatever thickness you like to make a standard large pizza. Just put on your toppings and bake for 10-12 minutes in as a hot an oven as you can manage. You could even put one ball in the freezer if you wanted and save it for another night (put it in the fridge to defrost the morning of). If you want to make a deep dish though, carry on reading.
Preheat the oven to 200C/400F. Break the dough into two balls, one slightly smaller than the other and roll out the smaller of the two, aiming for about 1/4" thickness.
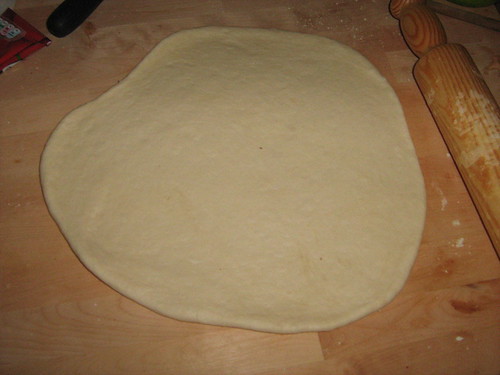
Place your pan on top of the dough and cut around it leaving a slight edge:
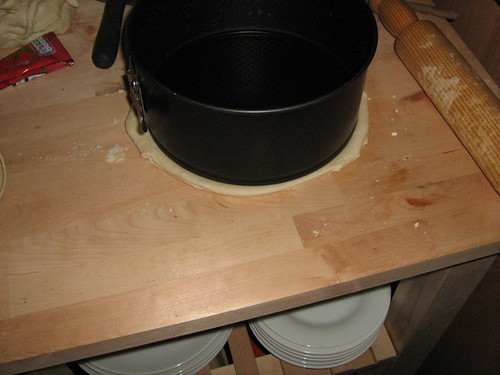
Set this pizza base aside for the moment.
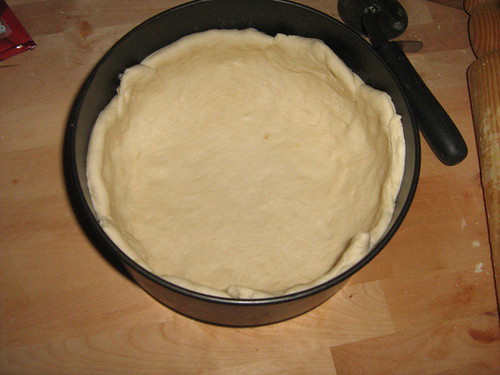
Take the scraps and need them into the other ball and roll this out as well. Place this larger pizza base into the pan, covering the bottom and then pressing up onto the sides:
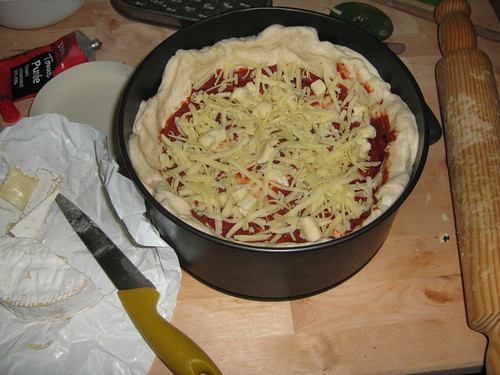
You're now going to add your base fillings. I put in slightly browned sausages, frozen spinach (mostly defrosted), tomato puree and grated Cheddar cheese. Then put your smaller pizza base on top of these fillings, forming a crust with two edges. Cut a little slit in the middle to let steam out (I only remembered this step when my pizza was bubbling up in the oven). Then put on the toppings you would for a normal pizza. I put on more tomato puree, grated Cheddar and chopped Camembert.
Place in the oven for approximately 30 minutes. Remove from pan immediately upon removal from oven.
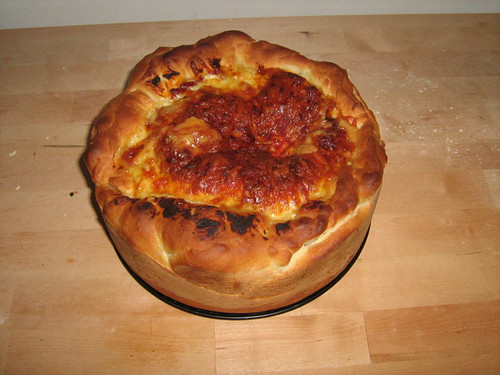
Let it cool for a few minutes (the filling is very hot, can you see the steam?).
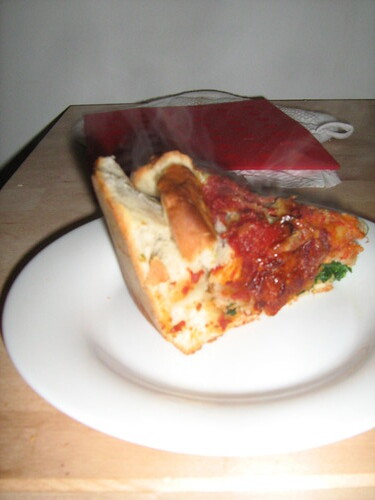
Enjoy! From this deep dish I got 6 slices/servings. It's great reheated the next day and I'm off to eat some for lunch now!

Friday, 3 October 2008
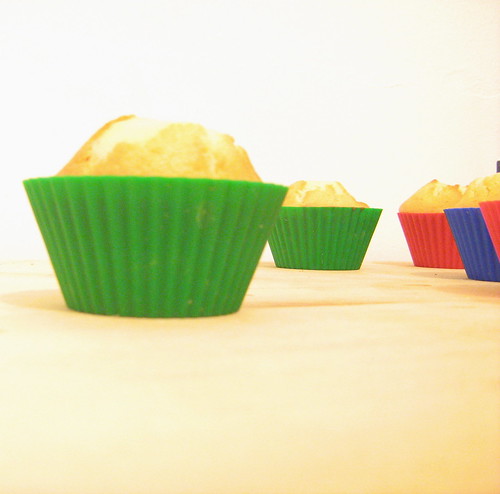
Boston Cream Cupcakes
I have officially made the world's best cupcakes. For me, the following cupcakes represent perfection. Now I should preface this by saying that I am a huge fan of Boston Cream Pie. My dad and I used to sit around the kitchen table when I was a kid and eat a whole pie together. Every birthday for my cake I wanted Boston Cream Pie cake. We used to make this using one box of yellow cake mix, one box of vanilla pudding and one tub of chocolate frosting. Now that I've grown up I can't stand buying boxed cake mix but could never find a recipe that replicated the taste I love so much. Well this is it. These cupcakes came out exactly as I remembered from my days of sitting around that table getting chubby with my daddy.

We start out making yellow cupcakes. This is my favorite recipe but of course any yellow cupcakes will do. This recipe comes from A Bakers Field Guide to Cupcakes (a book which I highly recommend).
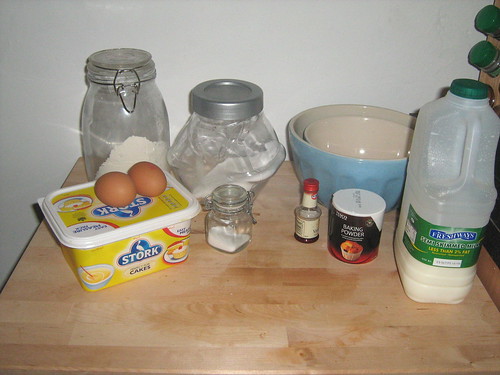
-Flour (1 1/2 cups)
-Baking powder (1 1/2 tsps)
-Salt (1/4 tsps)
-Butter (1/2 cup)
-Sugar (3/4 up)
-Egg (2 large)
-Vanilla (1 1/2 tsp)
-Milk (1/2 cup)
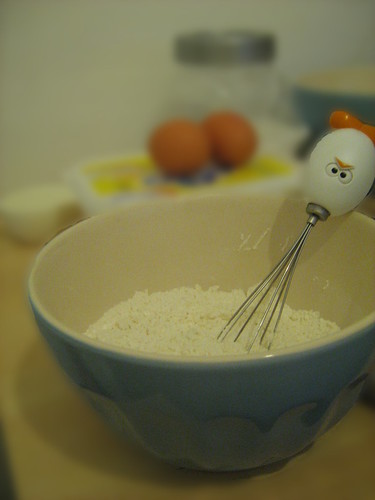
Mix the first three ingredients in a small bowl and set aside. Cream the butter with the sugar. Add eggs one at a time. Then add the flour mix in alternate increments with the milk, ending with flour.
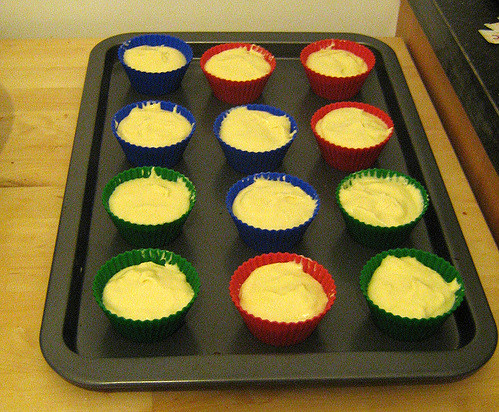
Then spoon into 12 cupcake holders and bake at 350 F (170 C) for 18 minutes. They go in looking like this:
And they come out looking like this:

That's the cupcake part done. Next comes the filling. For the filling any pastry cream/pudding recipe will work. Basically you want to mix some sugar and egg yolks together until the yellow color fades a bit, stir in a bit of flour, combine with milk and vanilla and heat on low until thickened (stirring the whole time). I only wanted to fill 6 cupcakes so I used 4 tsps sugar, 1 egg yolk, 2tsps flour, 1/3 cup milk and just a dash of vanilla. You are supposed to let this chill in the frig for a couple hours but I don't have that much patience. Because I made such a small amount I was able to cool it in a bit of ice water. I then injected the pastry cream into the cupcakes using a pastry bag and filling tip (I have Wilton's Bismark tip 320).
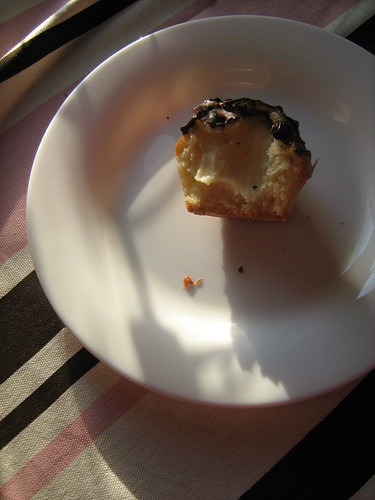
Next comes the topping. You are supposed use Chocolate Ganache. But I didn't feel like opening a whole thing of cream just for a tiny amount to frost these cupcakes. What I did was melt 50g dark chocolate with a tiny bit of butter. Frost with the melted chocolate but then this topping needs to harden to become good so you have to put the cupcakes in the fridge for 10 minutes or so. To achieve perfection the cupcakes should sit overnight (or you should let the pastry cream chill before filling). They were still very good after 10 minutes though. They were fantastic for breakfast the next morning.

That's it. It took me about an hour to make these (though keep in mind I had to keep stop to take photos) and it was well worth it. I will make these again and again and again. I put 6 plain cupcakes in my freezer so my husband and I wouldn't eat 12 cupcakes in 2 days (something which we can and will easily do) but I'm sorely tempted to get them out. I'm resiting the urge though...for now.
Tuesday, 30 September 2008
Hairy Bakers Bread
This bread was made following the recipe here. Except I did not have any rye flour so I used wholemeal flour instead. Also I did not glaze the top with an egg and then cover with oatmeal (obviously).
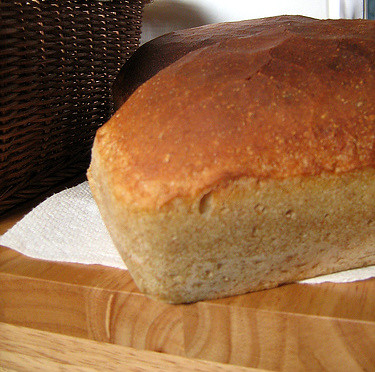
I cooked these loaves in silicone bread pans on the middle shelf of my oven. Whilst the oven was preheating I placed a shallow cake tin full of water on the bottom shelf to steam up my oven. I probably could (should?) have removed this tin 5 or 10 minutes after putting the bread in but I didn't because I thought I might spill it. So I left it in until the water had all evaporated and I don't think the bread suffered much for it.
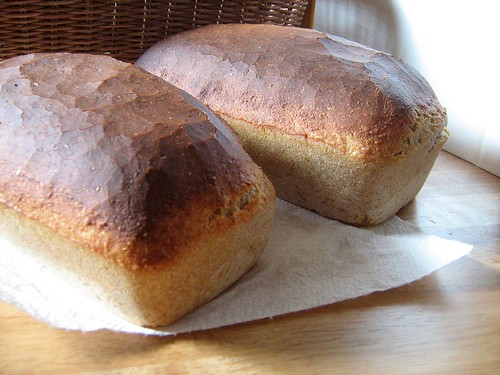
Overall, I highly recommend this recipe. It is a nice sourdoughish bread that eliminates the need to spend a week making a sourdough starter. The flavour is quite strong, so be prepared for that, but you might happen to really enjoy it. I got two good size loaves from the recipe but it cost me nearly a whole bag of flour (1kg to be exact). They were eaten before they were anywhere near close to going to stale though but the recipe could be easily halved if your family consumes less bread than mine.
Overall, I highly recommend this recipe. It is a nice sourdoughish bread that eliminates the need to spend a week making a sourdough starter. The flavour is quite strong, so be prepared for that, but you might happen to really enjoy it. I got two good size loaves from the recipe but it cost me nearly a whole bag of flour (1kg to be exact). They were eaten before they were anywhere near close to going to stale though but the recipe could be easily halved if your family consumes less bread than mine.
Subscribe to:
Posts (Atom)


